Excessive screen time, stress, work, and traffic are all common issues most of us have to deal with on a daily basis. One of the best ways to restore the balance in our lives is get back into nature. There’s no better way to connect with the great outdoors than on a hiking trip through the countryside. Close your eyes and just think about it; the beautiful trees swaying in the breeze, the fresh smell of the forest, the serene peace and quiet. The state of wellbeing that comes over us, even after an hour in the open air is incredibly rewarding and fulfilling. Finally, all the stress starts to leave your body as your lungs fill with fresh air. But this new-found joy can be gone in an instant when you’re a long way into your hike and you start to get a blister.
Hiking Blister Care
Most blisters are tender and painful, some more than others, but there are a few signs to look for to see if the wound has got infected. Before treating your blister, wash your hands with warm water and soap to avoid introducing any bacteria to the wound. Inspect the area around the blister for signs of warmth, swelling, foul smells, pus, pain, holes or peeling skin. Seek medical attention if you feel your blister is badly infected (for example, if you see some pus in your blister).
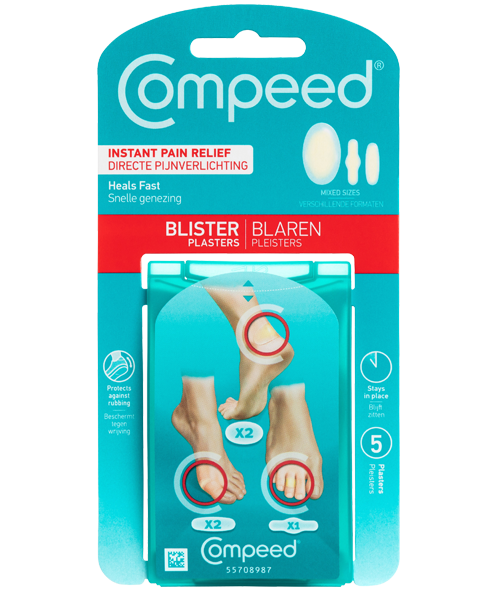
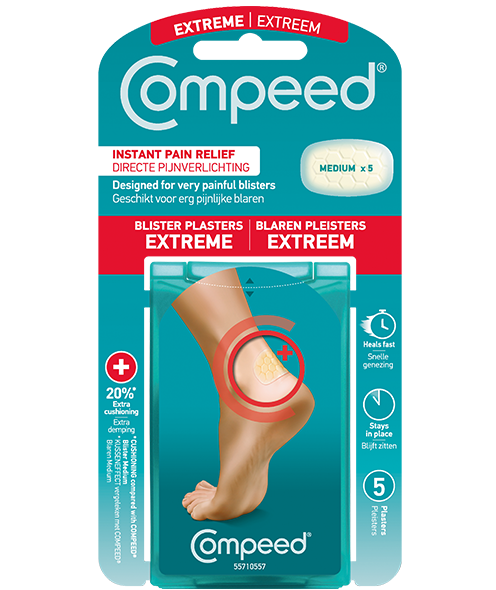
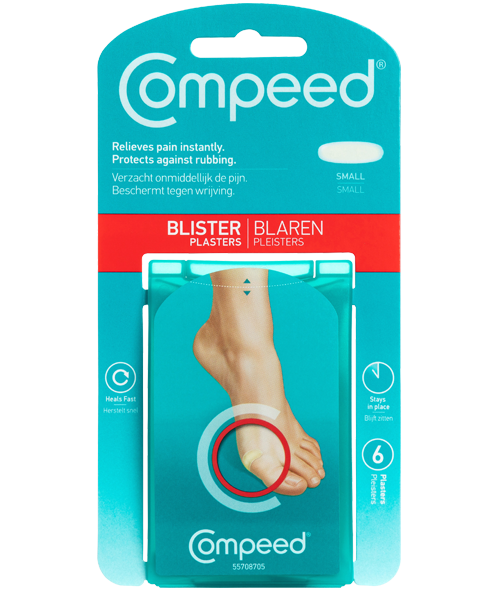
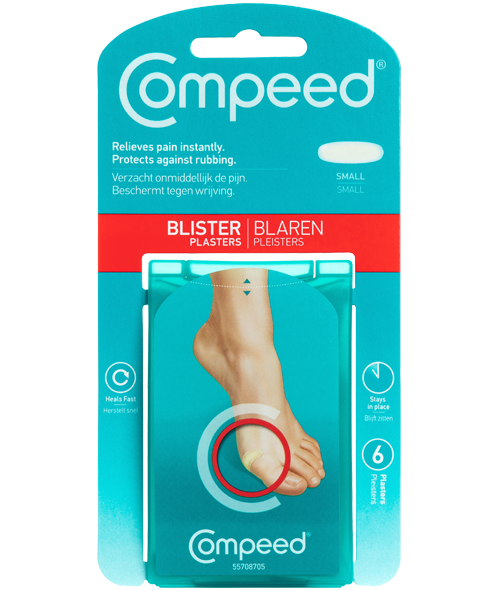
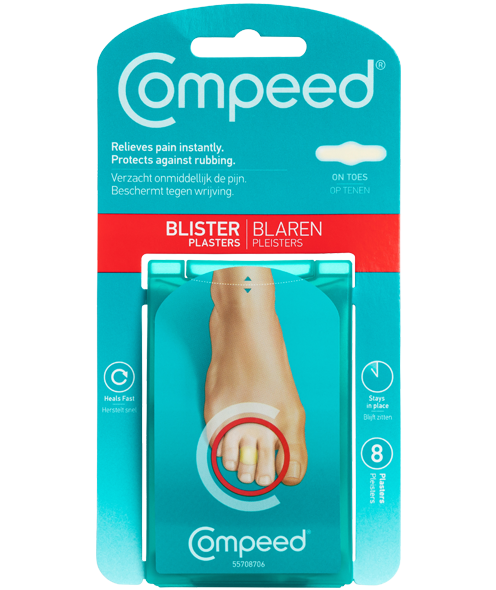
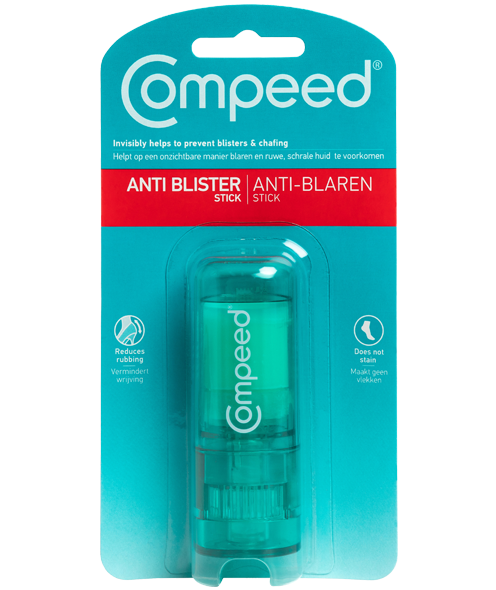
While the right hiking boot can go a long way to preventing blisters in the first place, it’s best to have an anti-blister kit on hand to treat them if they do develop. This includes specialist blister plasters, absorbent material e.g. gauze and disinfectant. In most cases it is best not to pop a blister, but when hiking, most hikers prefer to pop and drain it themselves under controlled conditions, rather than risk it bursting inside their sweaty, dirty sock.


